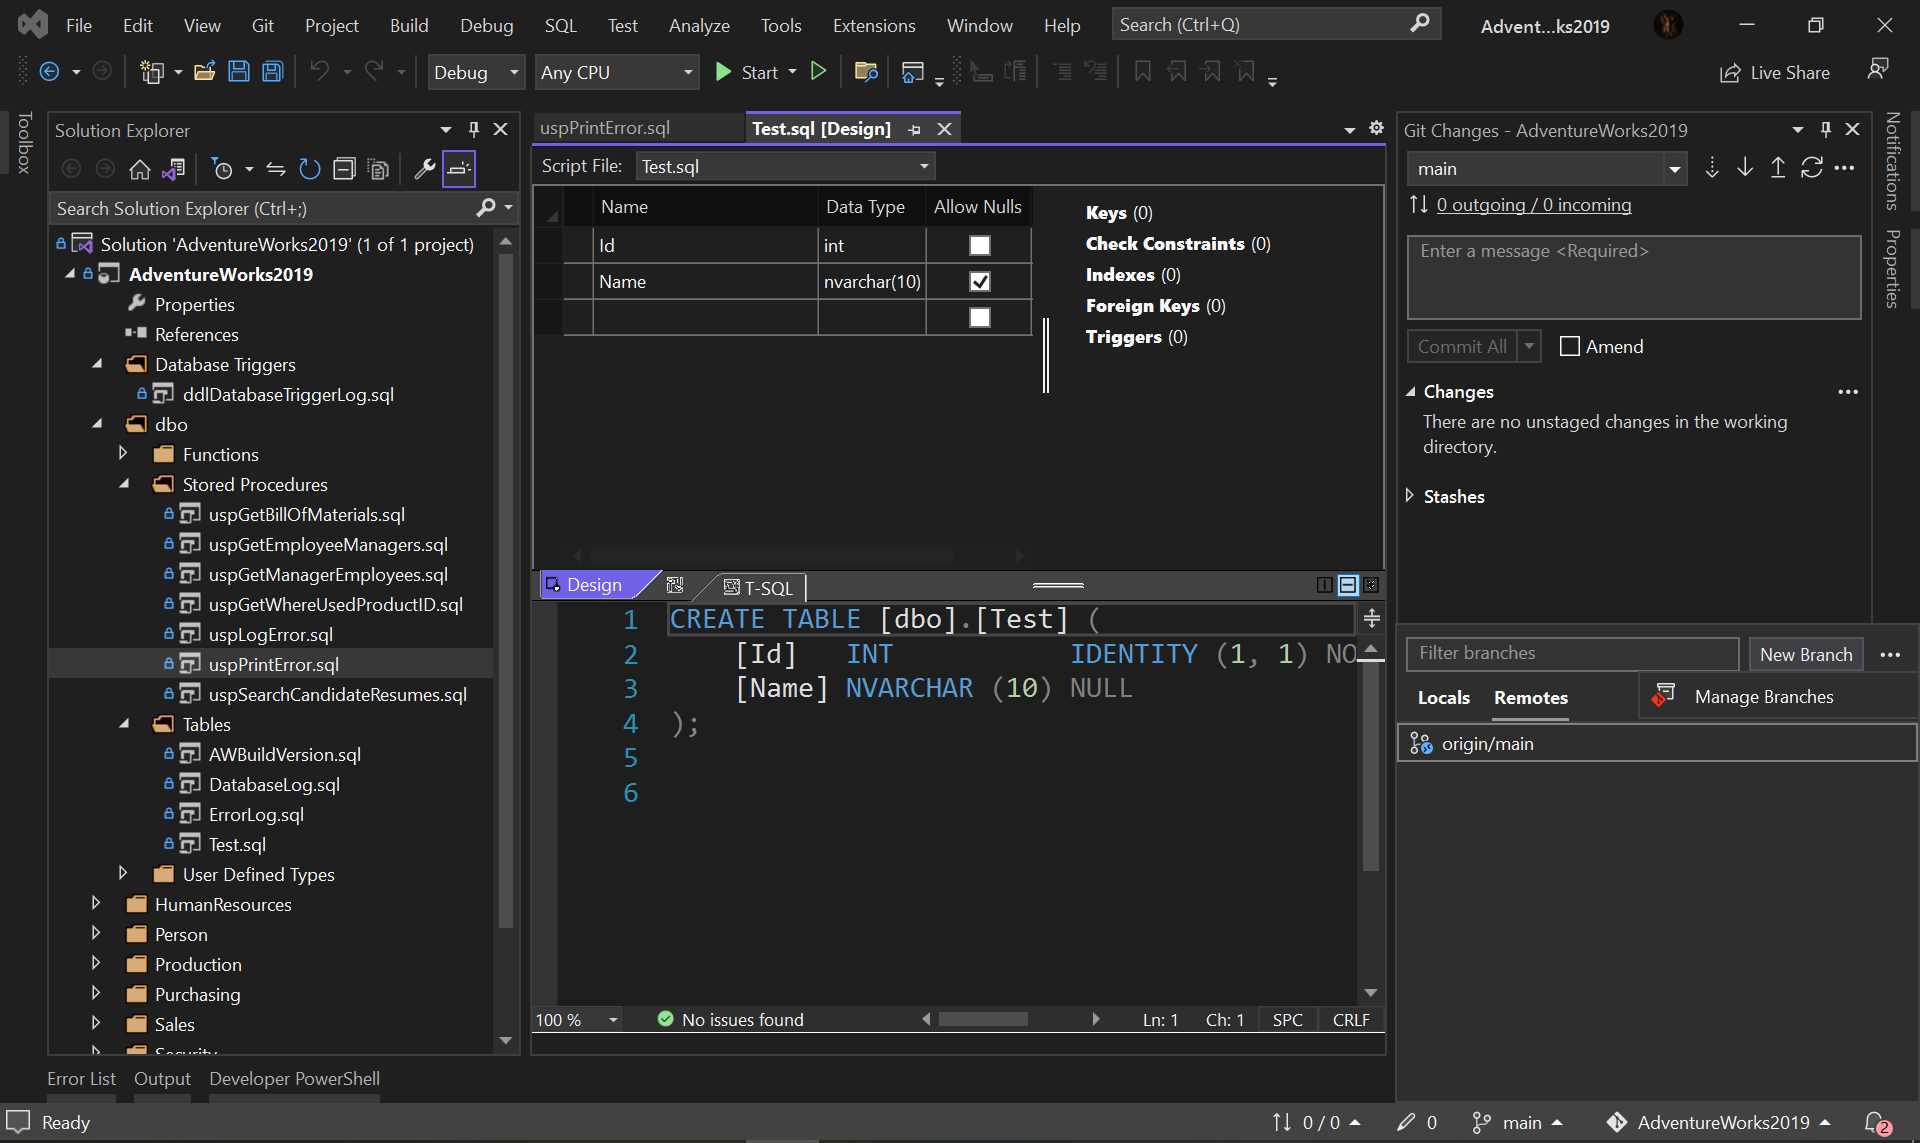
In this brief article, we will see how to setup SQL Server Database Source Control using Visual Studio step by step —
1. Create a new repository to GitHub
 2. Clone the repository to local directory
3. Create a new Sql Server Database project inside the repository

4. Right click on the project -> Import -> Select Database or Data-tier Application(*.dacpac)
 For Data-tier Application(*.dacpac) option, Select/Browse the file then click on ’Start’.
 For Database option, Select Connection of the Source Sql Server Database then click on ’Start’.
[But this option is not available in Visual Studio Community Edition]


5. Now update a Stored procedure (Add comment) from source Sql Server Database as well as create a new table for testing purpose.

6. To compare the Source Database and our target project, Right click on the project name the select ‘Schema Compare’

7. Select Source Database and Target Project then click on ‘Compare Button’

8. Check the changes


9. To update the Target Project/Source Control click on ‘Update’


10. Commit & Push the changes.


Thanks…


