A Progressive Web App (PWA) is a type of web application that offers a user experience similar to that of native mobile or desktop applications. PWAs are built using standard web technologies such as HTML, CSS, and JavaScript but are designed to provide features traditionally associated with native apps. They are characterized by their ability to work offline, responsiveness across various devices, and the capability to be installed on a user’s device without the need for an app store. PWAs aim to combine the best of both web and native app worlds, delivering a reliable, fast, and engaging experience for users.
Progressive Web Apps (PWAs) are web applications that deliver a seamless and app-like experience to users. Built with standard web technologies, PWAs offer features like offline functionality, responsiveness across devices, and the ability to be installed without app store downloads. They improve user experience, accessibility, and cross-platform compatibility, while also being cost-effective and easily discoverable by search engines. PWAs are particularly relevant today as they combine the advantages of web and native apps, providing a fast, secure, and engaging solution for businesses and developers.
Today’s step by step guide, we will build a PWA using Next.js 14 as well as It will be hosted on Azure App Service.
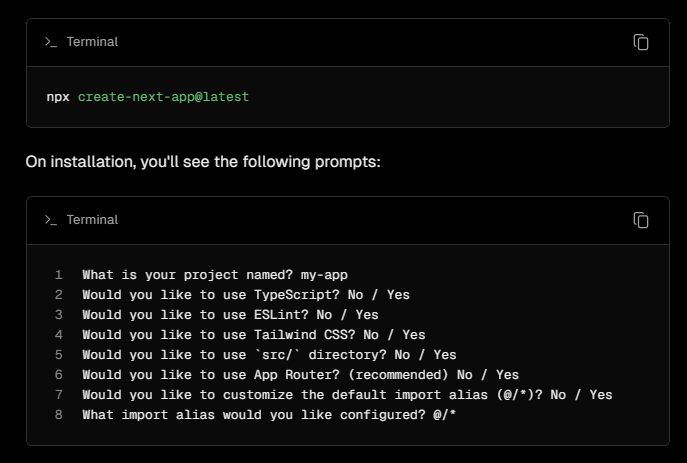
- Go to the link: Getting Started: Installation | Next.js (nextjs.org) and flow the steps described with default/recommended options.
2. Install next-pwa from here— next-pwa – npm (npmjs.com)
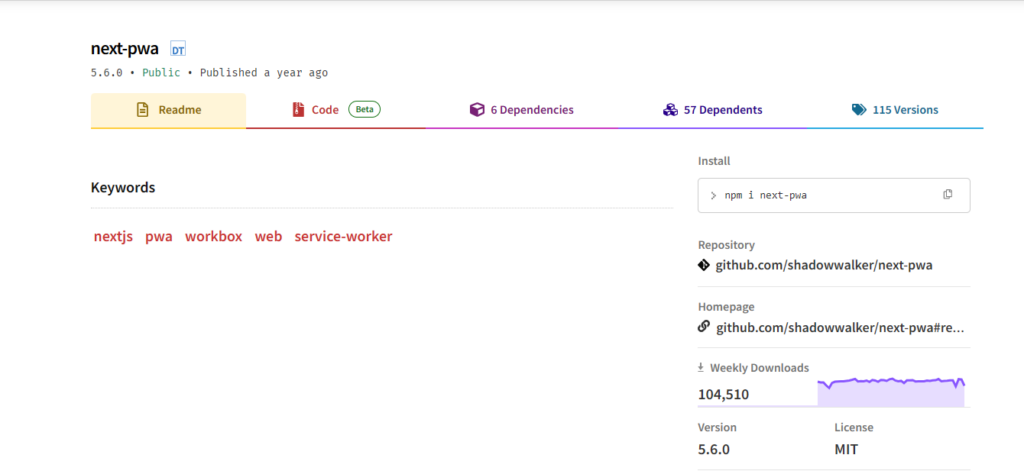
3. Our initial required installation is done, Now need to configure next.js PWA. To configure PWA open next.config.js file and add the following configuration:
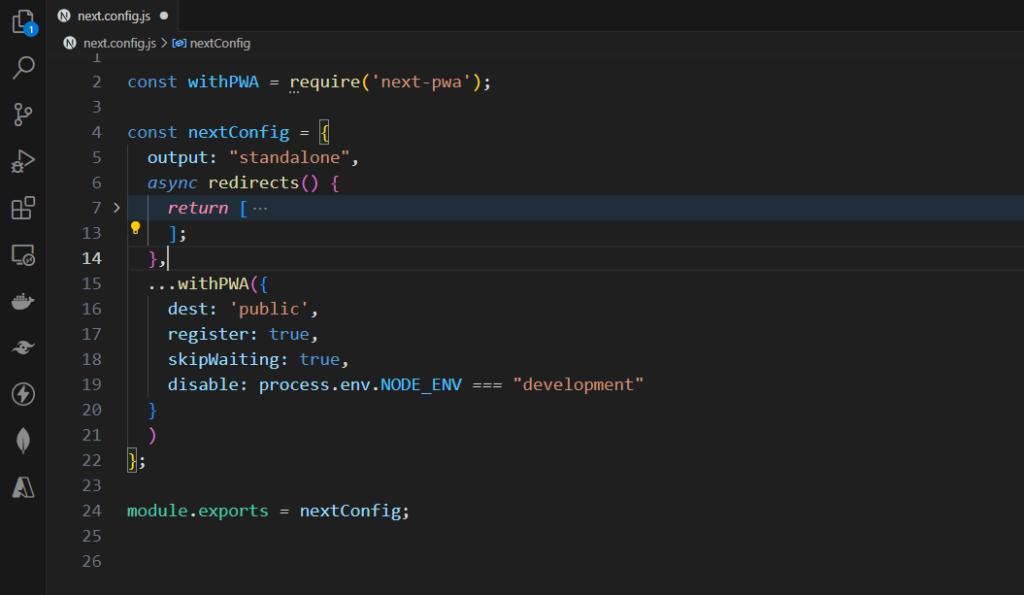
					const withPWA = require('next-pwa');

const nextConfig = {

output: "standalone",

async redirects() {

return [

{

source: "/",

destination: "/dashboard",

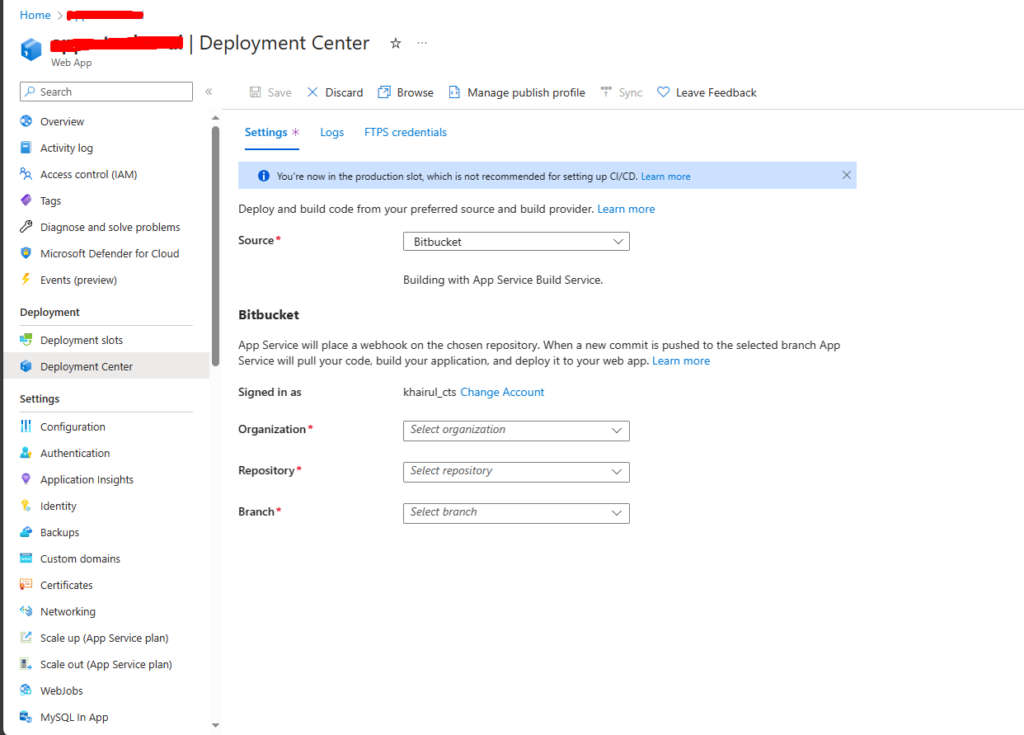
permanent: false

}

];

},

...withPWA({

dest: 'public',

register: true,

skipWaiting: true,

disable: process.env.NODE_ENV === "development"

}

)

};

module.exports = nextConfig;
4. Add a manifest. Json file into the public folder. The manifest.json file for a Progressive Web App (PWA) contains metadata such as the app’s name, description, start URL, display preferences, and icons. It is crucial for configuring how the app behaves when added to a user’s home screen and enabling features like the “Add to Home Screen” prompt.
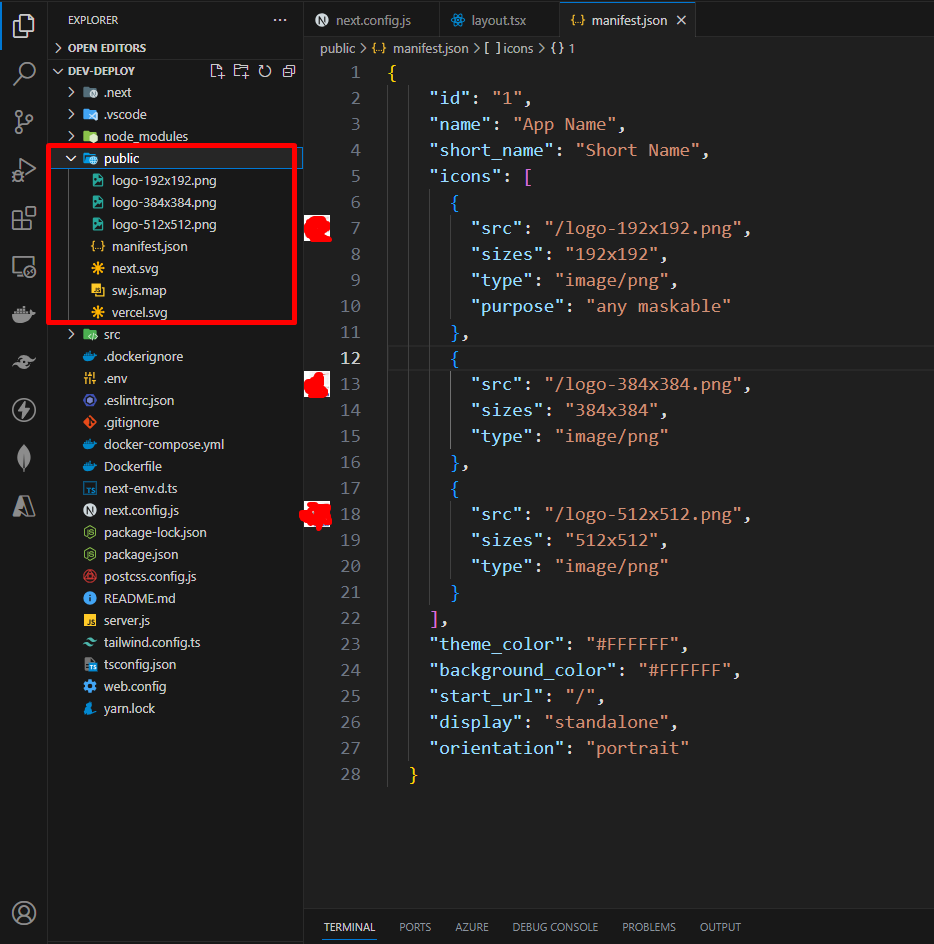
					{

"id": "1",

"name": "App Name",

"short_name": "Short Name",

"icons": [

{

"src": "/logo-192x192.png",

"sizes": "192x192",

"type": "image/png",

"purpose": "any maskable"

},

{

"src": "/logo-384x384.png",

"sizes": "384x384",

"type": "image/png"

},

{

"src": "/logo-512x512.png",

"sizes": "512x512",

"type": "image/png"

}

],

"theme_color": "#FFFFFF",

"background_color": "#FFFFFF",

"start_url": "/",

"display": "standalone",

"orientation": "portrait"

}
5. Add Metadata in Layout Page.
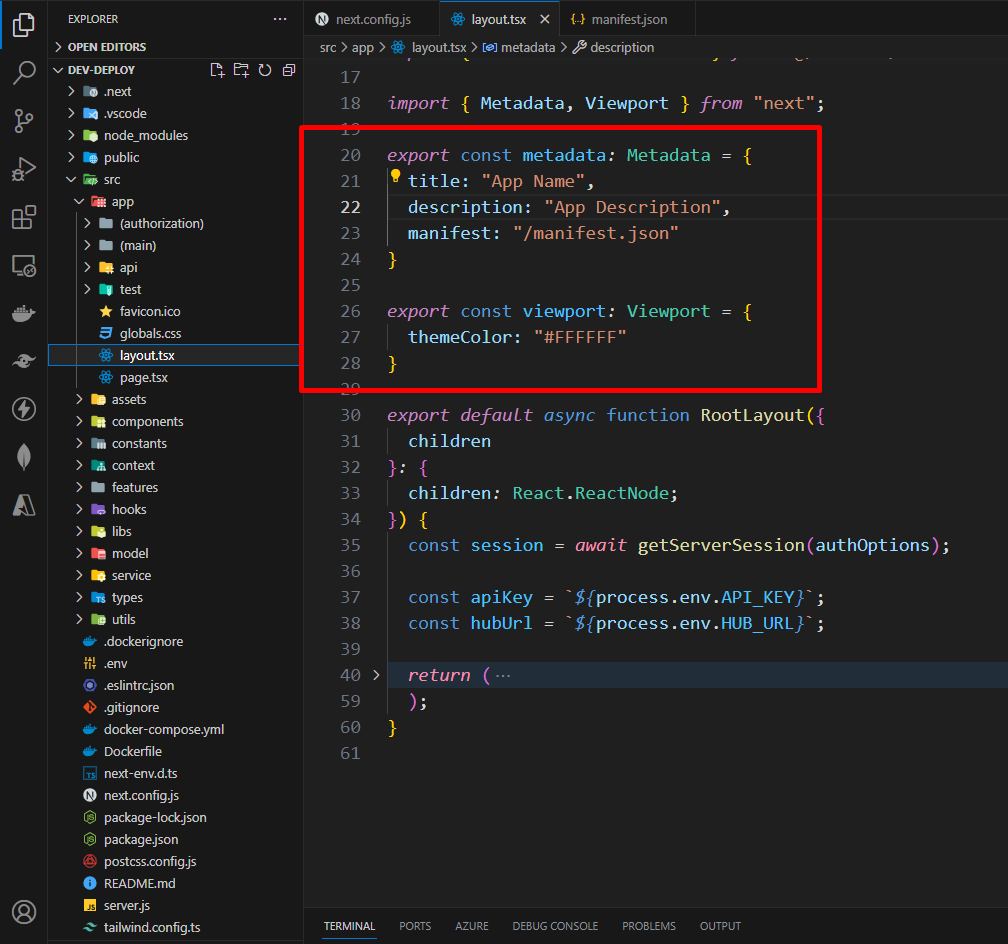
					export const metadata: Metadata = {

title: "App Name",

description: "App Description",

manifest: "/manifest.json"

}

export const viewport: Viewport = {

themeColor: "#FFFFFF"

}
6. At first build the app with the command ‘npm run build’ then run the app using command ‘npm run dev’. By running the app from developer console open Lighthouse to check the PWA status.
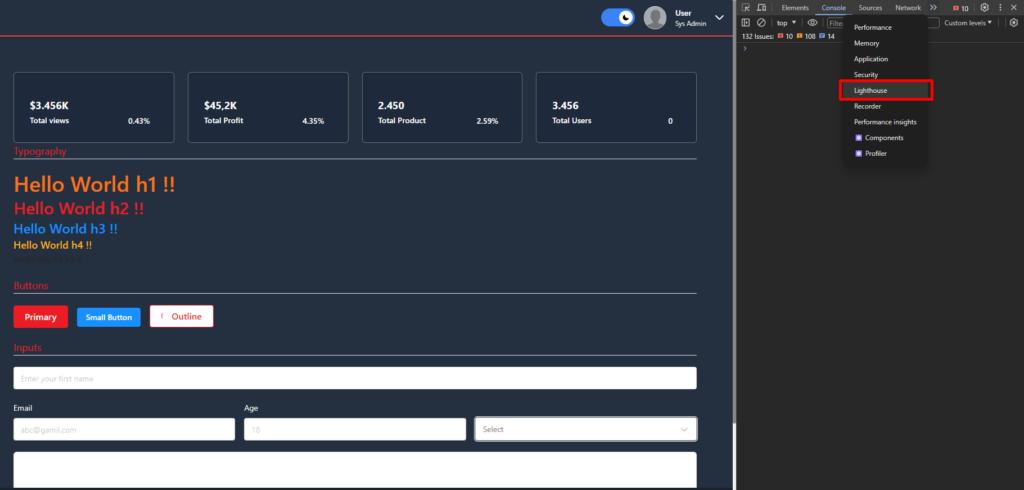
7. Generate a Lighthouse report.
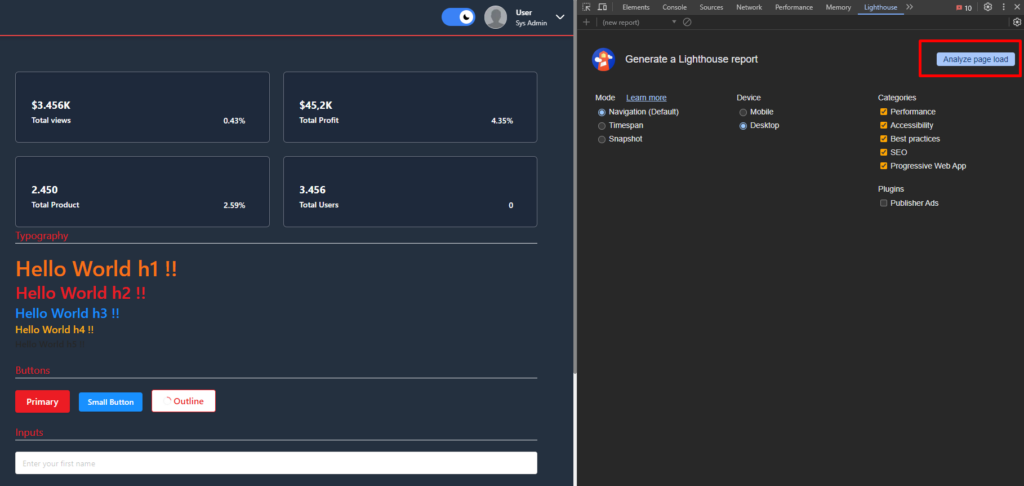
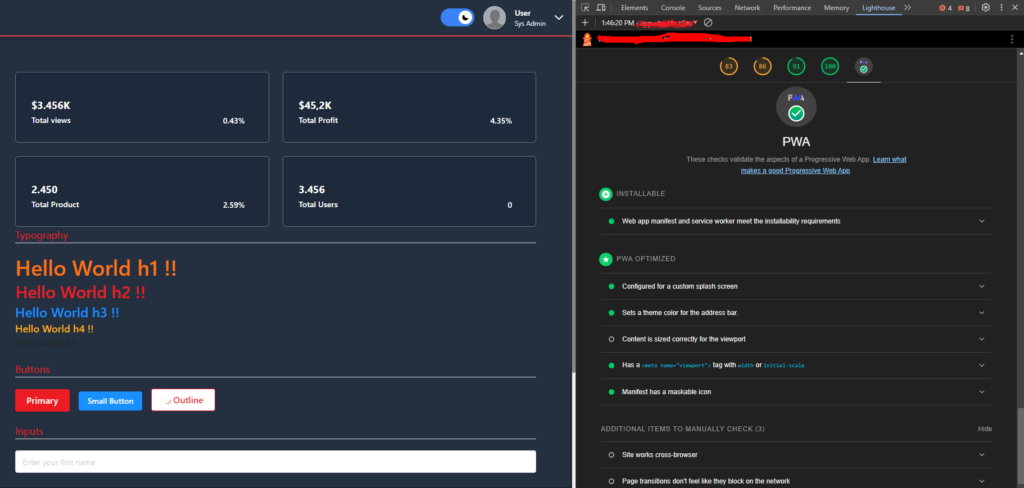
8. Next.js PWA generated successfully, We can now install this as a native app. Check the right side of address bar, there is an install icon. After installation this app will be available on the start menu.
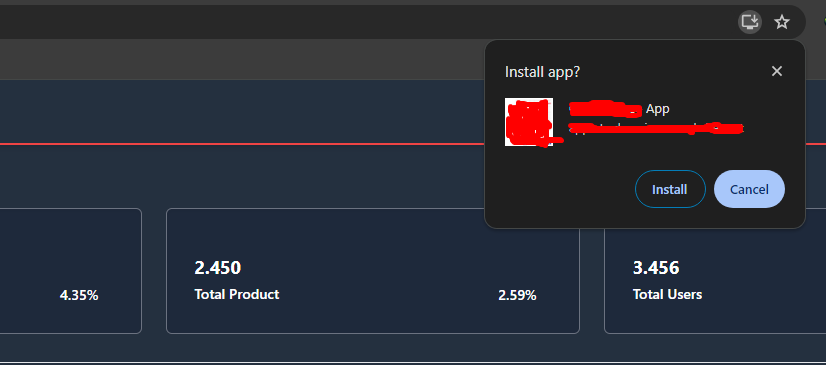
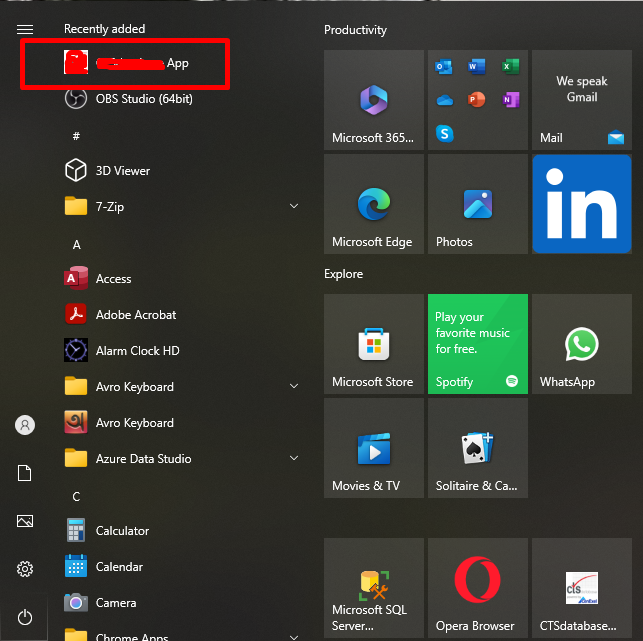
Our PWA is working but before deploying to Azure App Service needs some additional configuration too.
9. Add server.js to start the app on server.
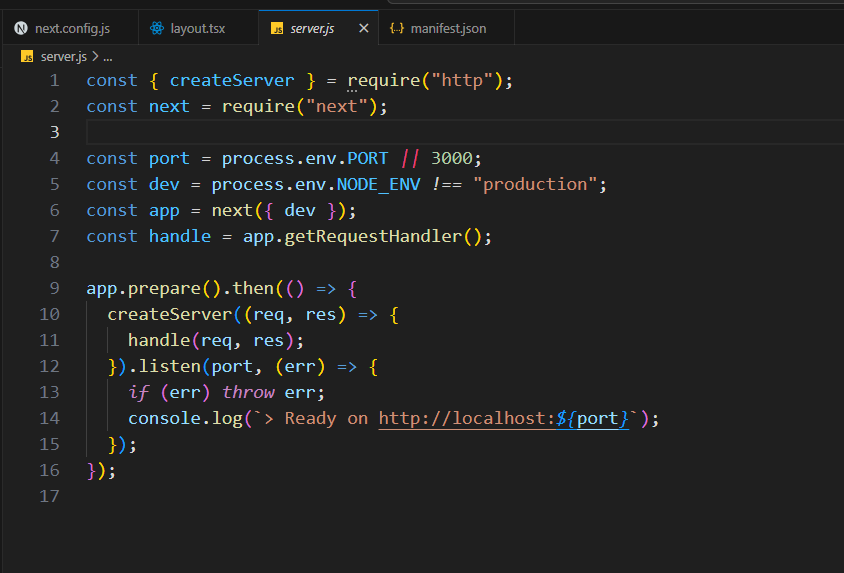
					const { createServer } = require("http");

const next = require("next");

const port = process.env.PORT || 3000;

const dev = process.env.NODE_ENV !== "production";

const app = next({ dev });

const handle = app.getRequestHandler();

app.prepare().then(() => {

createServer((req, res) => {

handle(req, res);

}).listen(port, (err) => {

if (err) throw err;

console.log(`> Ready on http://localhost:${port}`);

});

});
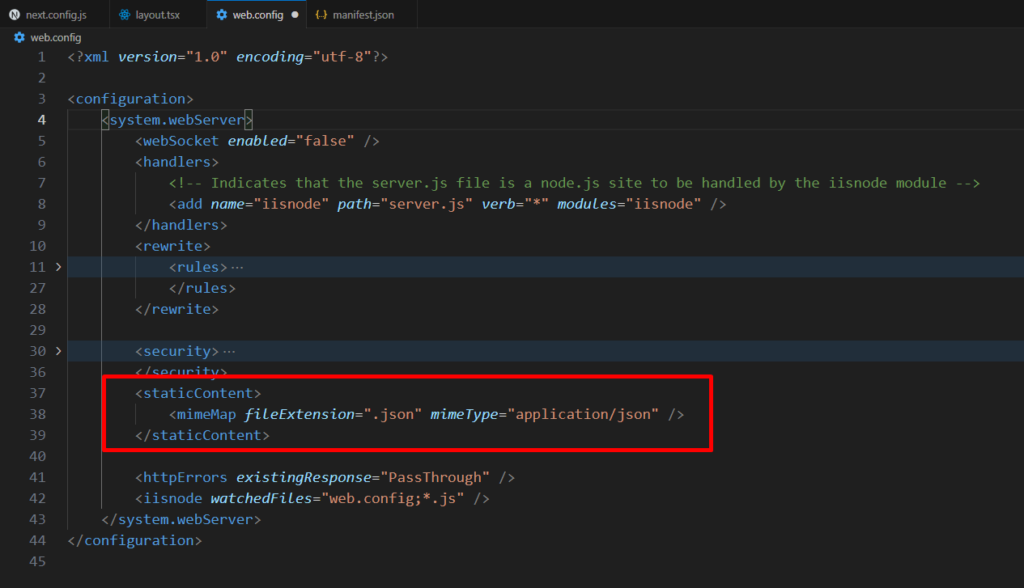
10. Add a web.config file, without this and server.js system will show 500-internal server error. Static content section is important for PWA, without this part system unable to find the manifest.json file so that App will not be converted into PWA on server.
					<?xml version="1.0" encoding="utf-8"?>

<configuration>

<system.webServer>

<webSocket enabled="false" />

<handlers>

<!-- Indicates that the server.js file is a node.js site to be handled by the iisnode module -->

<add name="iisnode" path="server.js" verb="*" modules="iisnode" />

</handlers>

<rewrite>

<rules>

<!-- Do not interfere with requests for node-inspector debugging -->

<rule name="NodeInspector" patternSyntax="ECMAScript" stopProcessing="true">

<match url="^server.js\/debug[\/]?" />

</rule>

<!-- First we consider whether the incoming URL matches a physical file in the /public folder -->

<rule name="StaticContent">

<action type="Rewrite" url="public{REQUEST_URI}" />

</rule>

<!-- All other URLs are mapped to the node.js site entry point -->

<rule name="DynamicContent">

<conditions>

<add input="{REQUEST_FILENAME}" matchType="IsFile" negate="True" />

</conditions>

<action type="Rewrite" url="server.js" />

</rule>

</rules>

</rewrite>

<security>

<requestFiltering>

<hiddenSegments>

<remove segment="bin" />

</hiddenSegments>

</requestFiltering>

</security>

<staticContent>

<mimeMap fileExtension=".json" mimeType="application/json" />

</staticContent>

<httpErrors existingResponse="PassThrough" />

<iisnode watchedFiles="web.config;*.js" />

</system.webServer>

</configuration>
11. Add Azure App Service Extension and connect to the resource with credentials.
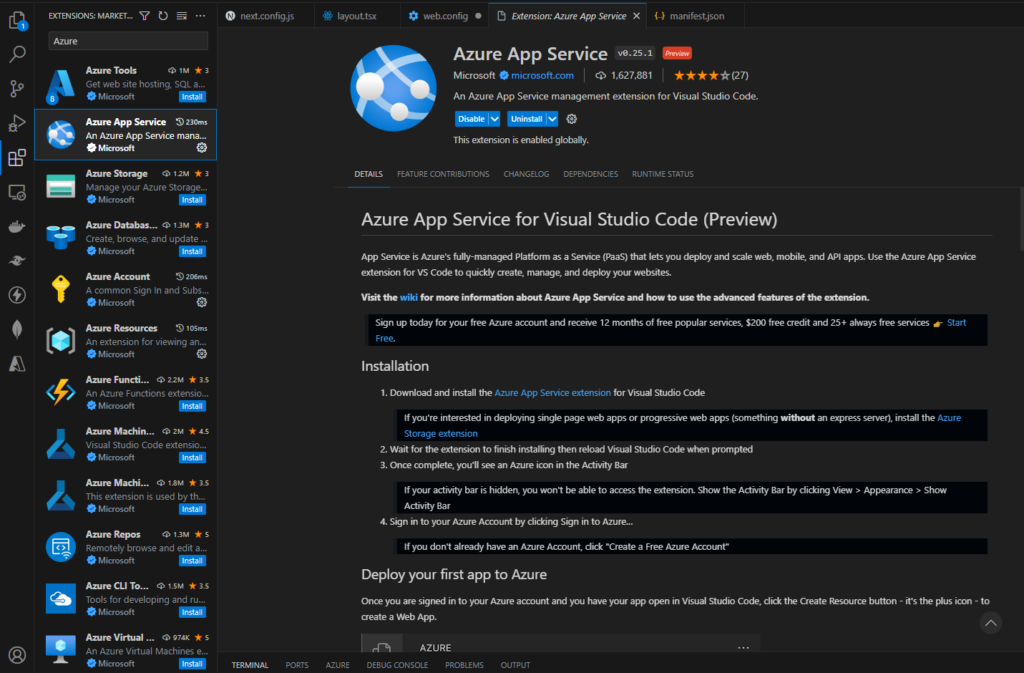
12. Finally, it is time for deployment, before deployment build the app. After successful build, into the search of vs code bar press Ctrl + > then type Azure App Service: Deploy to Web App. Then follow the instruction and select App Service where to deploy the app. While deployment process is started to view the status check deployment center log from the App Service.
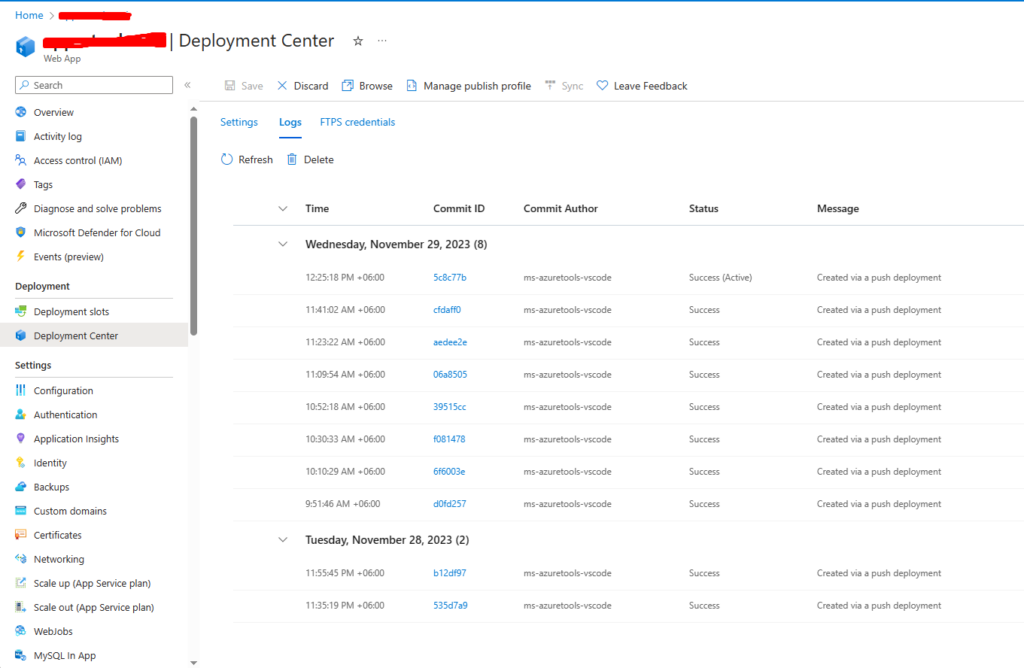
13. This will take a bit of time. After successful deployment browse prod URL and check steps 6 to 8.
14. Furthermore, we can setup CI/CD pipeline from the settings section of deployment center of Azure App Service.
